How to test a circuit breaker is important skill to have if you’re a homeowner or a do-it-yourself enthusiast is the ability to test circuit breaker. Circuit breaker are crucial parts of your electrical system that guard against overloads and short test circuit braker in your house. When a circuit breaker trips, it interrupts the flow of electricity to prevent damage to your wiring or appliances. However, if it constantly trips or fails to reset, it might be a sign of a problem that needs attention.
We’ll take you step-by-step through the procedure of testing a circuit breaker to make sure it’s operating properly in this guide. Whether you’re troubleshooting a tripped breaker or simply want to perform routine maintenance, this article will help you understand the basics of circuit breaker testing.
Understanding the Basics
Before we dive into testing procedures, let’s first grasp the fundamental concepts of circuit breakers:
1. What is a Circuit Breaker?
An electrical switch called a circuit breaker is made to guard against overloads and short circuits in your electrical circuits. It works by automatically cutting off the flow of electricity when it detects a fault, preventing electrical fires or damage to your appliances.

2. Types of Circuit Breakers
There are several types of circuit breakers, but the most common ones include:
- Standard Circuit Breakers: These are the typical circuit breakers found in residential and commercial buildings. They come in various sizes to protect circuits with different amperage ratings.
- Ground Fault Circuit Interrupters (GFCIs): GFCIs are used in areas where water is present, such as kitchens, bathrooms, and outdoor outlets. They quickly cut off power if they detect a ground fault, preventing electrical shocks.
- AFCI Circuit Breakers: AFCIs protect against arc faults, which can cause fires. Bedrooms and living rooms usually need them.
3. Signs of a Problem
You should consider testing your circuit breakers if you notice any of the following signs:
- Frequent circuit breaker tripping.
- The circuit breaker fails to reset.
- Burning smell near the breaker panel.
- Visible signs of damage or corrosion on the breaker.
Precautions Before Testing
Before you begin testing a circuit breaker, ensure your safety by taking the following precautions:
- Turn Off Power: Always turn off the power to the circuit you intend to test. You can do this by switching off the circuit breaker at the main electrical panel.
- Use Safety Gear: Wear safety glasses and gloves to protect yourself from potential hazards.
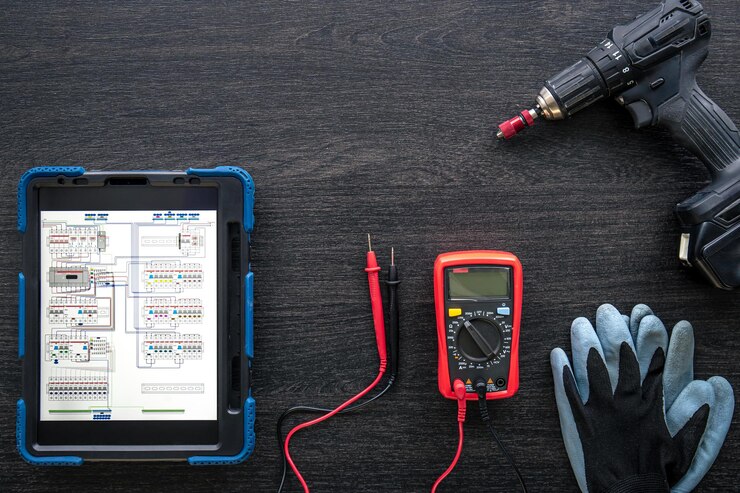
- Test Equipment: Invest in a voltage tester, a multimeter, and a flashlight to perform accurate tests.
How to Test a Circuit Breaker
Now that you understand the basics and have taken safety precautions, let’s get into the step-by-step process of testing a circuit breaker:
Step 1: Identify the Circuit
1.1. Locate the circuit breaker panel in your home. Usually, it’s located in the utility room, garage, or basement.
1.2. Identify the circuit you want to test. Each circuit breaker is labeled to indicate which area or appliance it controls.
Step 2: Turn Off the Circuit
2.1. Ensure the circuit you want to test is switched off. You should see the breaker switch in the “off” position.
Step 3: Visual Inspection
3.1. Inspect the circuit breaker visually for any signs of damage, such as burnt marks, rust, or loose wires. If you find any issues, it’s best to consult a professional electrician for further inspection.
Step 4: Reset the Circuit Breaker
4.1. If the circuit breaker is in the “off” position, reset it by switching it to the “on” position. You should hear a click as it locks into place.
Step 5: Test for Voltage
5.1. Use a voltage tester to check for voltage at the circuit. Put one probe on the breaker’s hot wire terminal and the other on the ground or neutral wire. The circuit is still active and the breaker is functioning properly if the tester displays voltage.
Step 6: Use a Multimeter
6.1. If you suspect a problem with the circuit, use a multimeter to measure the current flow. Set the multimeter to the voltage setting and touch the probes to the terminals of the breaker. It should read the voltage specified on the breaker.
Step 7: Test for Continuity
7.1. Use the multimeter’s resistance or continuity setting to check for continuity. Touch one probe to the breaker’s line terminal and the other to the load terminal. If you hear a continuous beep, it means there’s continuity, and the breaker is functional.
Step 8: Consult a Professional
8.1. It is advisable to get in touch with a certified electrician if you’ve done these steps and you still think there may be a problem with the circuit or breaker. They can perform a more thorough inspection and address any issues.


